



Edition
Professional/Professional Plus
EMT/EPC/EPCP
Permissions
Manager or Config manager
Set Up
Either AWS S3 and Glacier or Azure Hot and Cold storage adapters enabled
Introduction
You can now create, edit and view Storage Policies in New Generation
This is relevant if you have both hot and cold-type storage adapters, so either:
-
AWS S3 and Glacier, or
-
Azure Hot and Cold
The AWS Glacier/Azure Cold adapter has to be enabled (set to Read/Write) for it to be a selectable storage adapter.
If you only have AWS S3/Azure Hot storage adapters, then all content will be stored here.
Having storage policies means that the system will automatically move content, during the ingest process, to the chosen storage adapter based on specific mapping criteria, which includes:
-
File format
-
Security tag
-
Metadata
-
Representation type
-
Folder location
If you have previously set this up in the Classic interface the storage settings will automatically display in New Generation.
Note that the ability to perform post-ingest updates to where content is stored is not yet available in New Generation. However the Update storage workflow is still available to use via the Classic interface. This allows you to apply the storage policy and profiles to existing content.
The following steps describe how to create a new storage policy for an AWS S3 and Glacier storage adapter with all the Preservation representations held on Glacier and all Access representations on S3.
While in the process of setting up the rules we would advise testing frequently on small amounts of content to ensure that your rules are behaving as expected.
-
In the left-hand menu bar select Settings and then Storage
-
The Storage policy screen will display
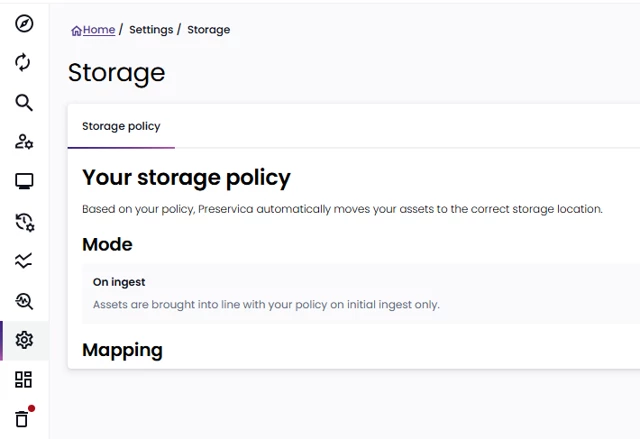
If any existing Storage policies have been created in the Classic interface, they will be displayed here
-
To create a new storage policy click Edit policy
-
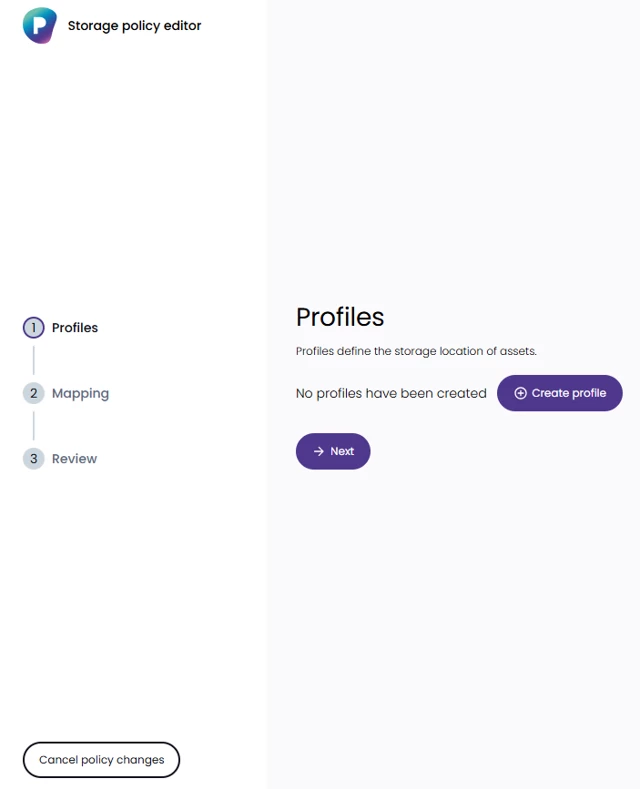
The Storage policy editor will open. Step 1 is to create a Profile which will define where your assets are stored
-
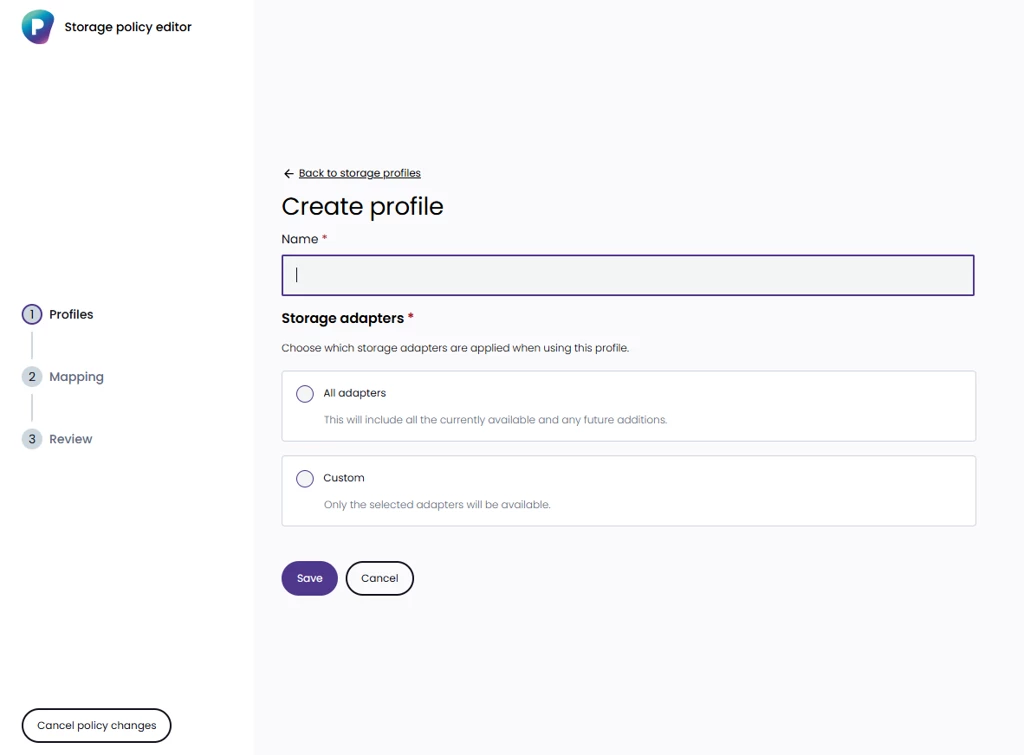
Click Create profile, the Create profile screen will display
-
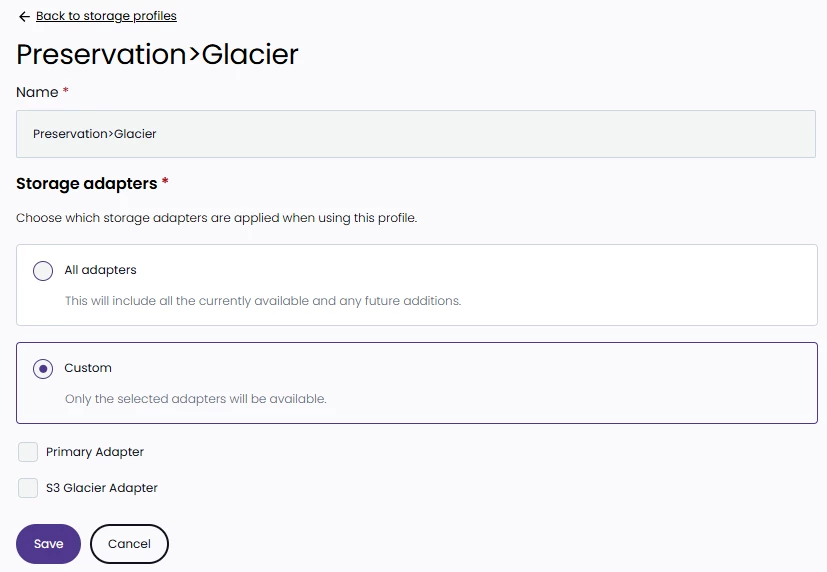
Type in a Name for the profile. This is a mandatory field. For example Preservation>Glacier
-
In the Storage adapters section, choose which storage adapters are applied when using this profile. 2 options are available:
-
All adapters: This will include all the currently available and any future storage adapters
-
Custom: Only the selected available adapters will be available and used based on the selection.
-
-
Select Custom, the available adapters will display
-
In this example, select S3 Glacier Adapter and click Save
-
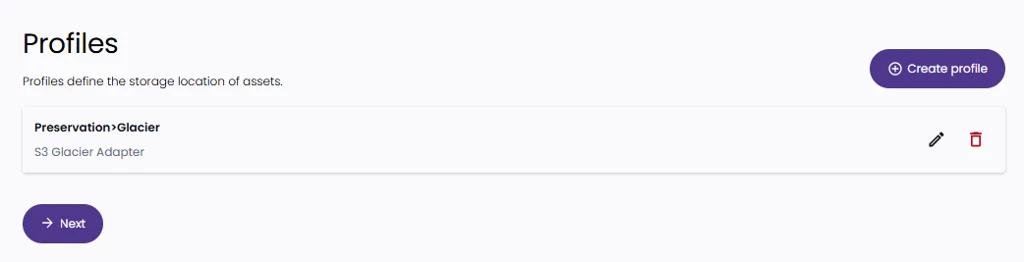
The Profile will update and display, for example:
-
Click Next. The Mapping step screen will display

-
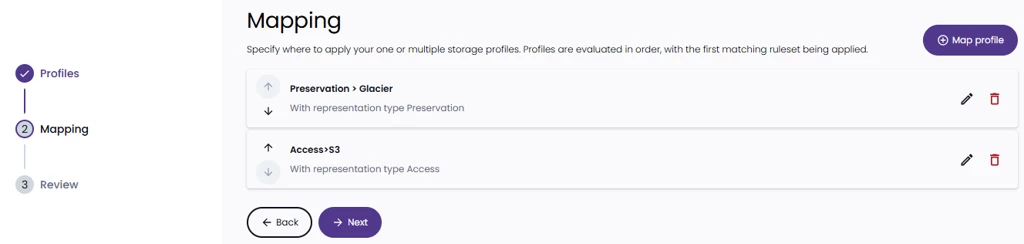
Here you specify where to apply your one or multiple storage profiles. Profiles are evaluated in order, with the first matching ruleset being applied. Click Map profile
-
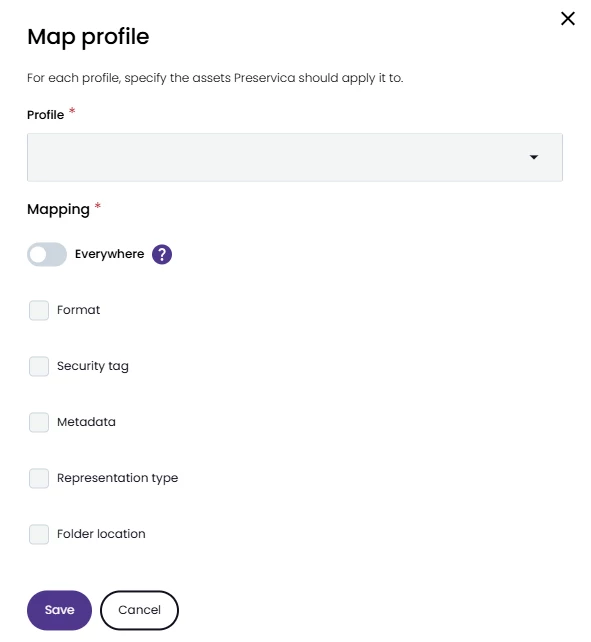
The Map profile screen will display. Here you select the relevant profile and choose the specific criteria to apply. The criteria options are:
-
Everywhere: selecting this option will mean that ALL content ingested into the system will be moved to the Glacier adapter, unless there is another profile which preceded this one. Choosing this option will also remove all the other options.
-
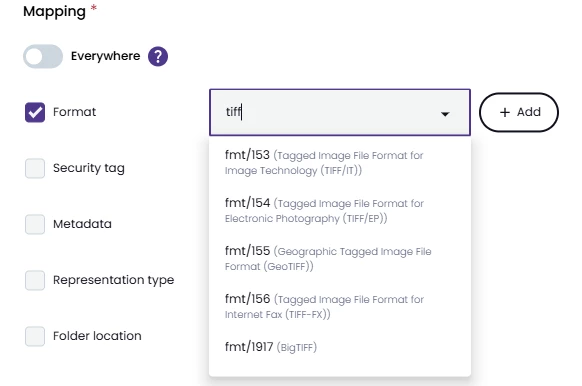
Format: here you can define the specific file formats that are applied to the policy mapping. Either select the file format from the dropdown list or type in the file format PUID or name. Click the +Add button to add multiple file formats. For example:
-
Security tag: here you can select which specific security tag(s) are included in the criteria mapping. The security tags that your user role is allowed to access will appear. Multiple tags can be selected
-
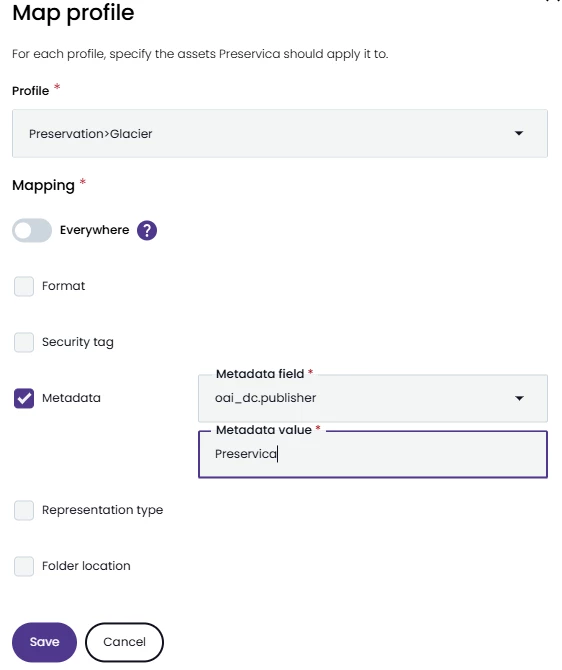
Metadata: here you can select from any of the standard or custom metadata groups that exist and the metadata fields within the group. Then enter in the specific metadata field value that must exist for the criteria to be met. For example:
-
Representation type: a dropdown list where you can choose either Preservation or Access. Selecting Preservation will mean that the original file, and any additional preservation representations created via a Preservation Policy will be moved to the relevant storage adapter. Selecting Access will mean that any Access representations either ingested or created via a Preservation policy will be will be moved to the relevant storage adapter
-
Folder location: Ticking the Folder location option will then all you to choose a folder. Assets within the selected folder and any sub folders will then have the storage profile applied to it. Only the folders your role permits you to access will be available for selection.
-
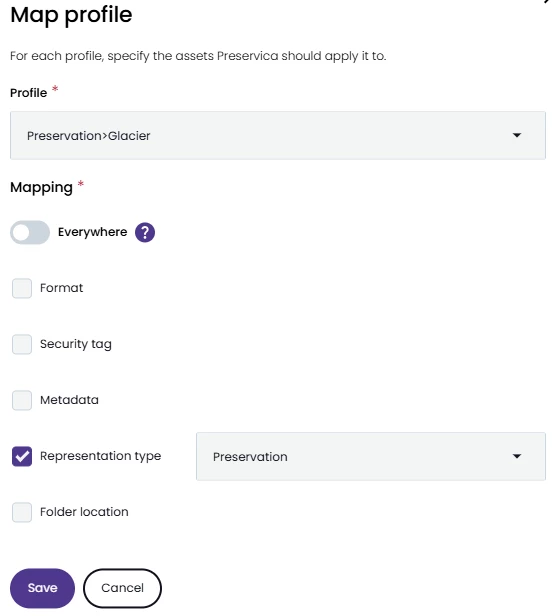
Click the Profile dropdown and select the previously created profile (Preservation>Glacier), and as this example requires all the Preservation representations to be held on Glacier, select the option Representation type and the option of Preservation. For example:
-
Then click Save
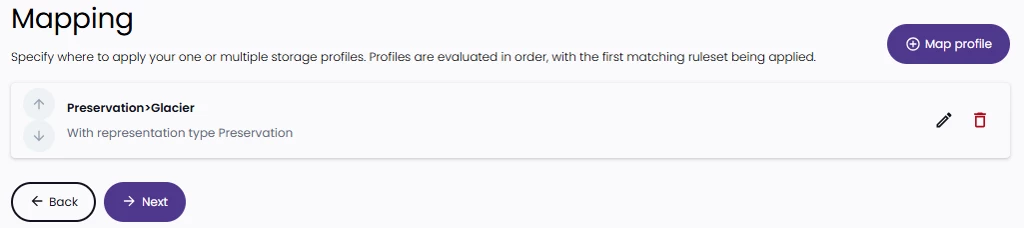
-
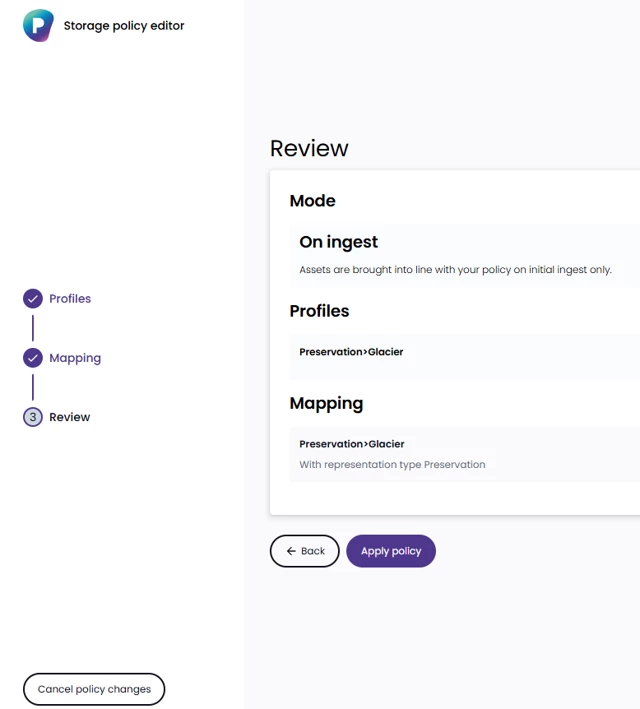
Click Next, the Review step will display, for example:
-
Check the details and if correct click Apply policy
-
An Are you sure? message will display, click Yes, apply policy
-
A notification will appear confirming the storage policy has been saved and will applied to all content ingested from the point onwards

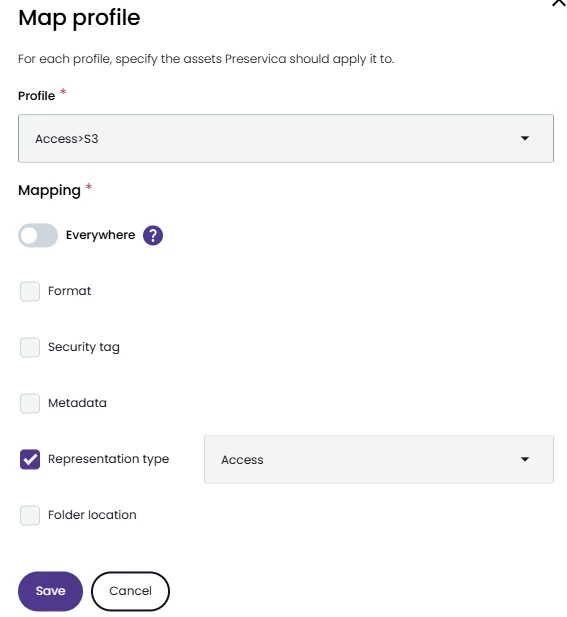
For this specific example, to ensure all Access representations are stored on the AWS S3 storage adapter a corresponding Storage policy assigned to the Primary Adapter with the criteria of Representation type and the option of Access must also be created, for example:
These rules will apply in the order they are seen on the screen, once a rule has been applied to a piece of content no other rules will be applied to it.
The rules will apply to all future content you ingest, if you want to move existing content based on these rules, you would need to use the Update Storage workflow.
This is currently only available in the Classic interface and can be run via the Right-click > Actions menu at asset or folder level.
-
The ordering of the profiles can be changed via the up/down arrows, for the 2 example profiles created this is how it would be set-up and displayed: